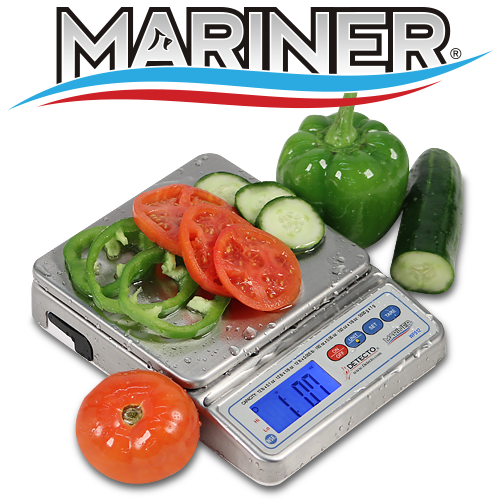


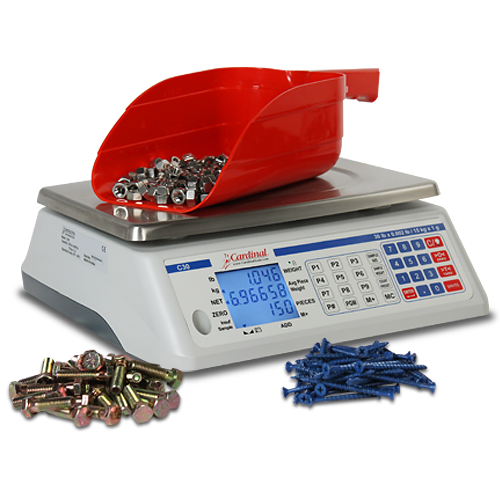
The C series portable counting scales are available in 30 lb/15 kg, 65 lb/30 kg, and 100 lb/50 kg...
-
Products
- Products
- Athletic Scales
- Baker Dough Scales
- Bariatric Scales
- Bathroom Scales
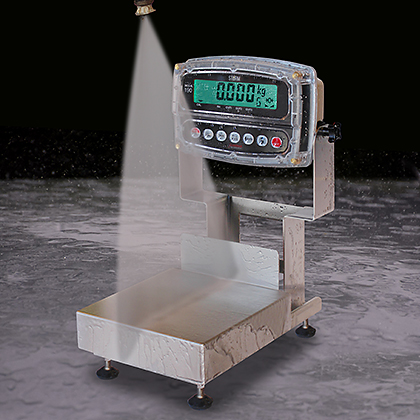
- Bench Scales
- Chair Scales
- Chux Underpad Scales
- Connectivity Solutions
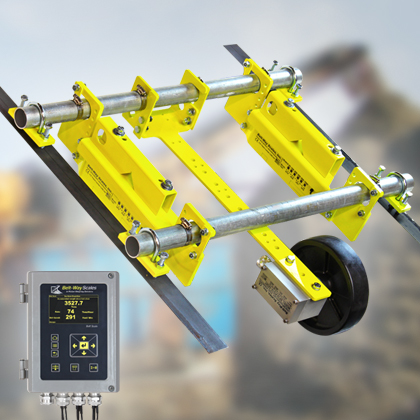
- Conveyor Belt Scales
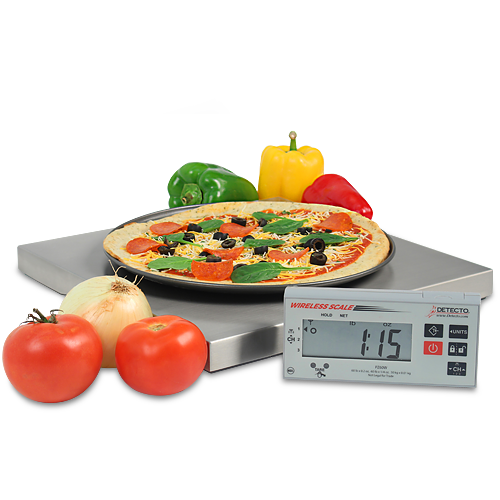
- Counting Scales
- Digital Conversion Systems
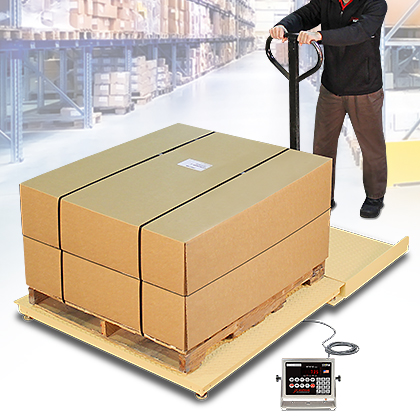
- Floor Scales
- Glove Box Holders
- Hanging Scales
- Home Healthcare Scales
- In-Bed Scales
- In-Floor Dialysis Scales
- In-Motion Checkweigher
- Ingredient Scales
- Integrators
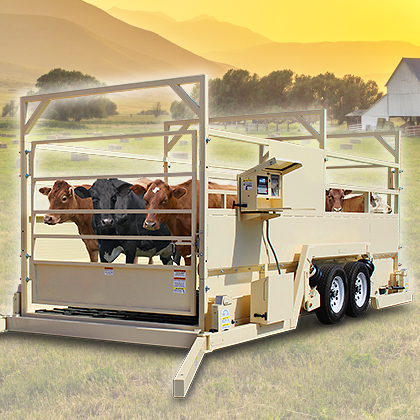
- Livestock Scales
- Load Cell Kits
- Load Cells
- Medical Carts
- Mobile Apps
- Monitoring Efficiency Tools
- Overhead Track Scales
- Patient Lift Scales
- Pediatric Scales
- Physician Scales
- Portable Scales
- Portion Scales
- Precision Digital Balances
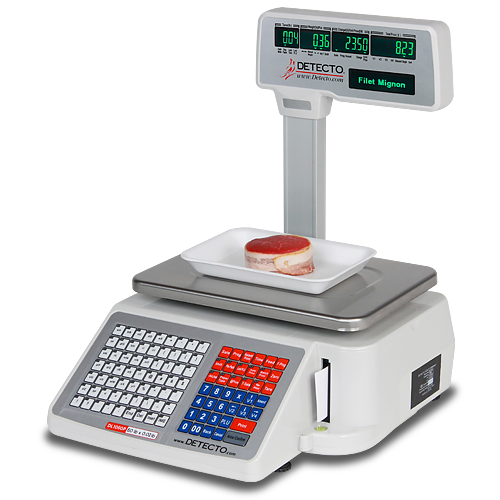
- Price Computing Scales
- Printers
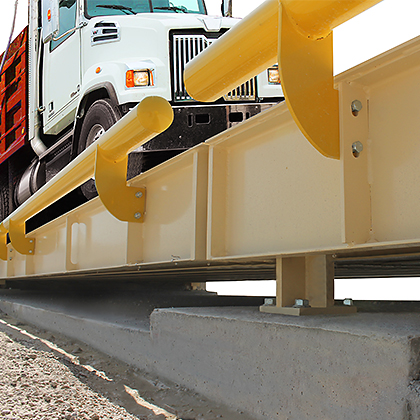
- Railroad Track Scales
- Remote Displays
- Retail POS/Logistics
- Scale Diagnostic Tools
- Software
- Stadiometers
- Stretcher Scales
- Test Weight Kits
- Test Weights
- Top Loading Dial Scales
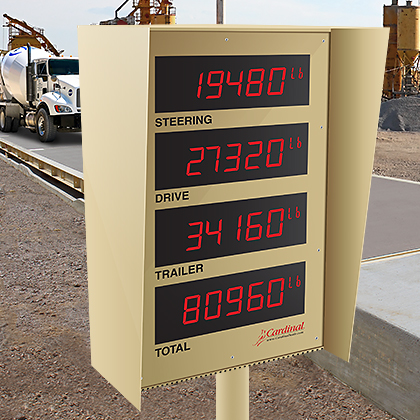
- Truck Scales
- Veterinary Scales
- Waste Receptacles
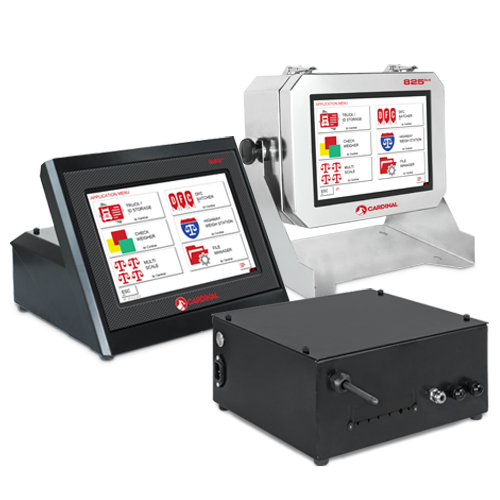
- Weight Indicators
- Wet Diaper Scales
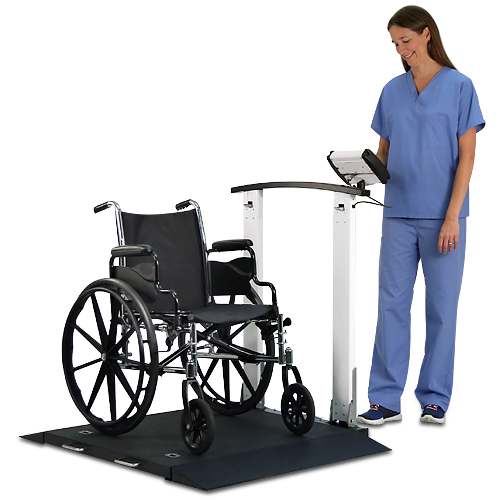
- WheelChair Scales
-
Industries
- Aggregates
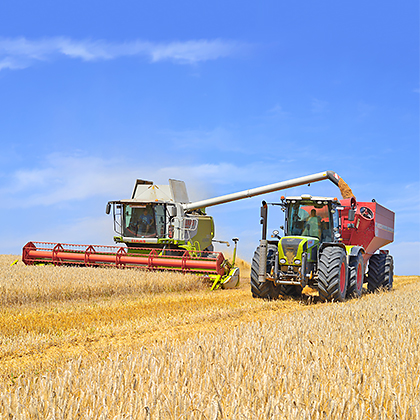
- Agriculture
- Chemical
- Clinics
- Commercial Kitchens
- Construction
- Dialysis
- Fishing
- Fitness
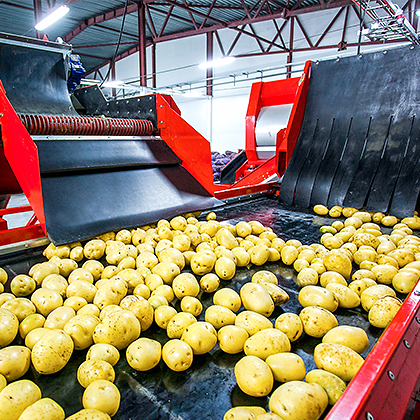
- Food Processing
- Highway Weigh Stations
- Home Healthcare
- Hospitals
- Laundromats
- Livestock
- Logging
- Long-Term Care
- Manufacturing
- Physician Offices
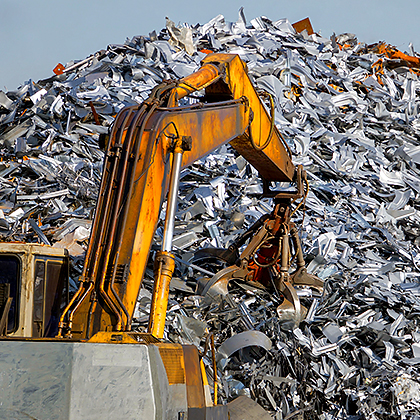
- Recycling
- Retail Point-of-Sale
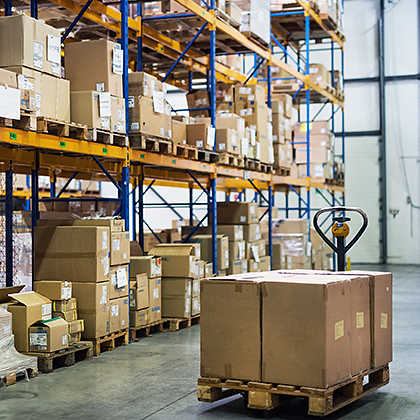
- Shipping/Logistics
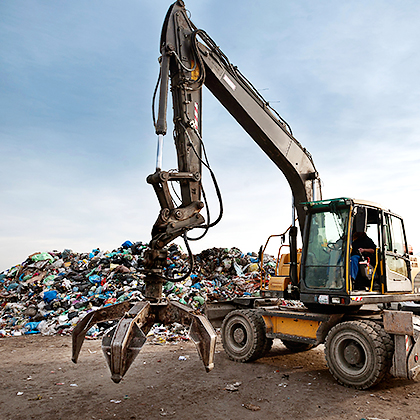
- Solid Waste
- Veterinary
- Company
- Resources
- Contacts